We all know I have an itty bitty obsession with pumpkins.
Well, I also have an ittyyyy bittyyyy obsession with stripes.
And painting.
And completely destroying kitchen tables with acrylic paint. Oops.
So when I saw these babies on the cover of Country Living (another obsession), I knew I needed them in my life, STAT. And unlike my usual unrealistic expectations for my daily life (you mean to tell me that I can’t make three kinds of peanut butter, a pot of soup & veggie burgers while practicing to sew, write in my blog, go for a run AND have a picnic at a vineyard somewhere in Northern Virginia in one day? What the heck!), I had everything I needed to make these…so they could happen, STAT.
While Matt went on a 20 mile run (he’s running the NYC Marathon in November – and then a 50 MILER in May! I know, don’t even) on Sunday morning, I sat down with a big cuppa pumpkin coffee, a pumpkin yogurt sprinkled with pumpkin granola and a big ol’ pumpkin, ready to be painted.
Yep, my life is THAT exciting!
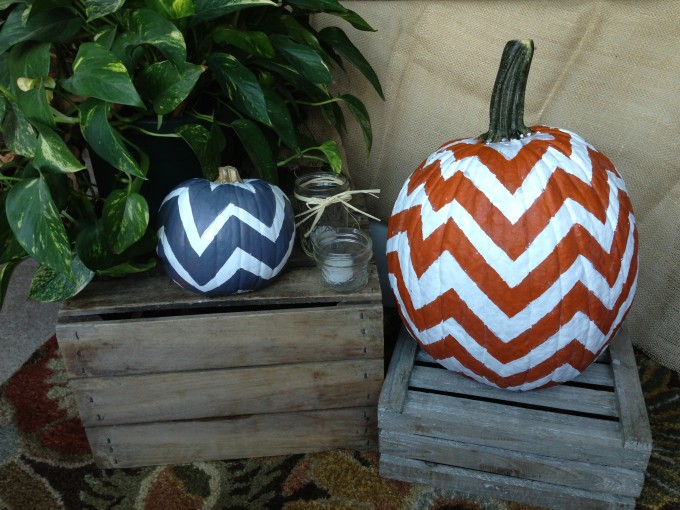
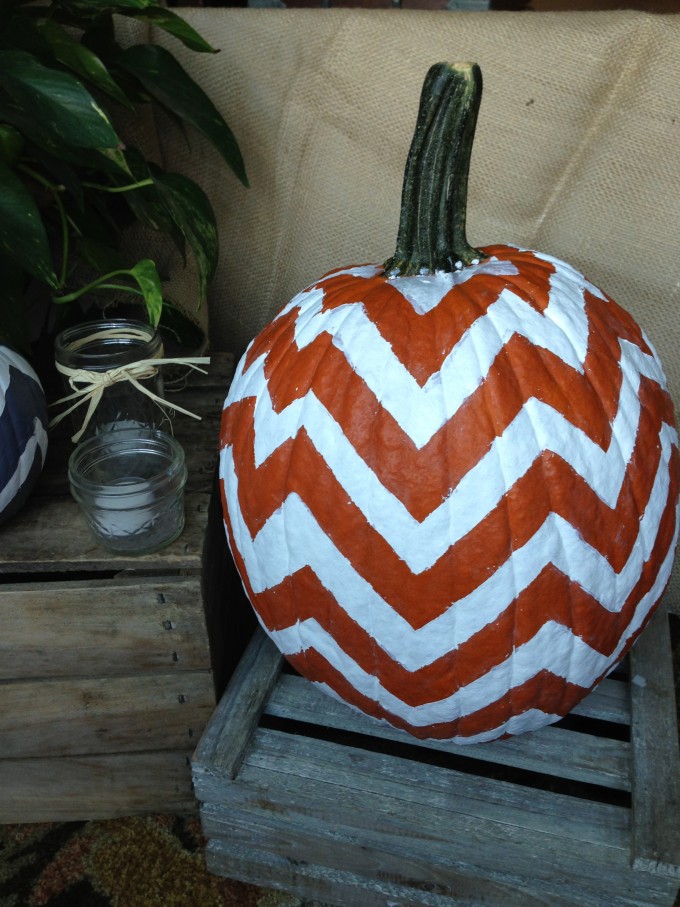
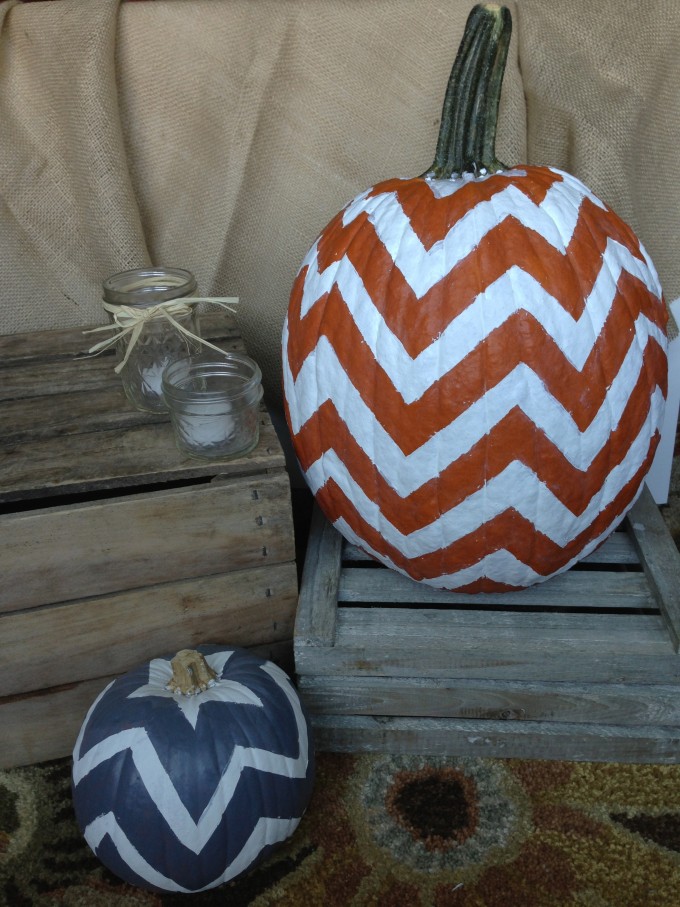
And as much as I love carving pumpkins, chevron stripes always steal my heart. Plus, look at how good they look with mason jars! My country soul swoons.
Chevron Painted Pumpkins
inspired by Country Living
Ingredients:
- Pumpkin(s), large or small
- Painters tape
- Scissors
- Acrylic paint (I used white and gray but you can use any color your heart desires!)
- Paintbrush or foam brush
Directions:
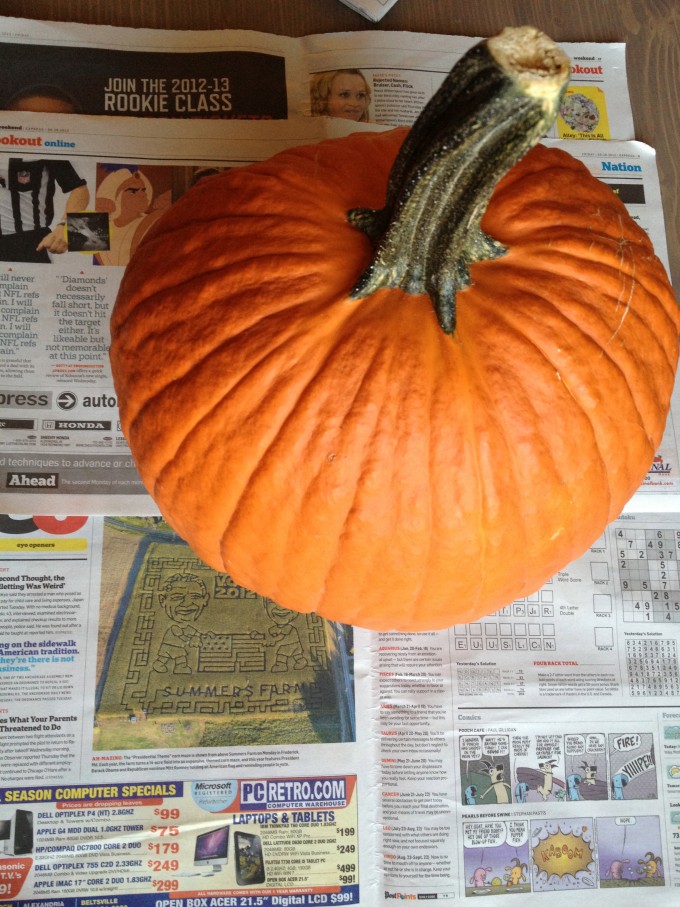
1) Wash pumpkin with a damp towel and dry thoroughly.
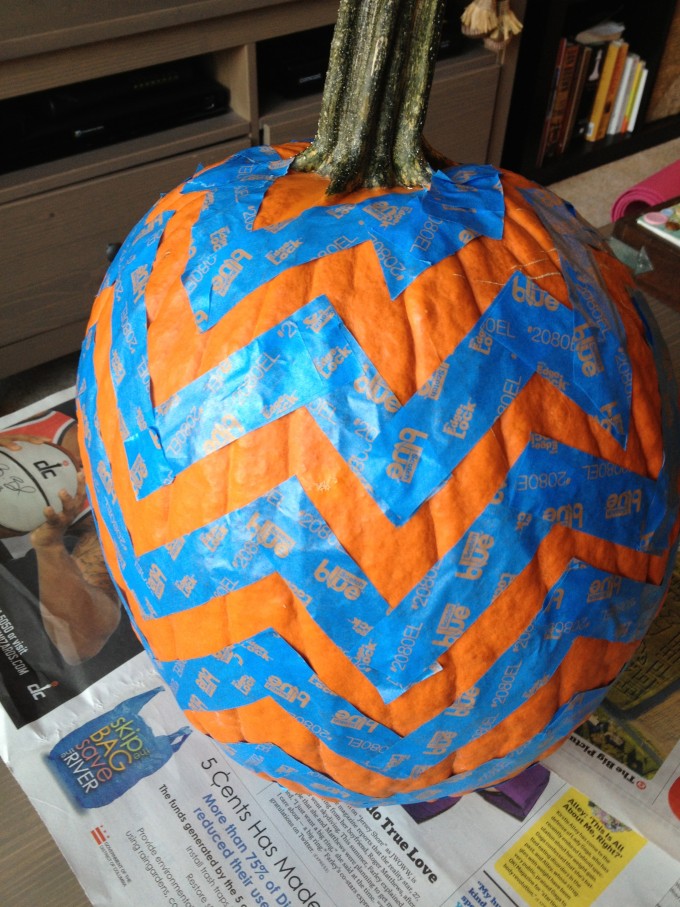
2) Cut short stripes of tape and begin to link around your pumpkin in a zig-zag pattern. (this can be a bit challenging since the pumpkin is round and the zig-zags want to go straight, but with a little finagling here and there you can make it work!
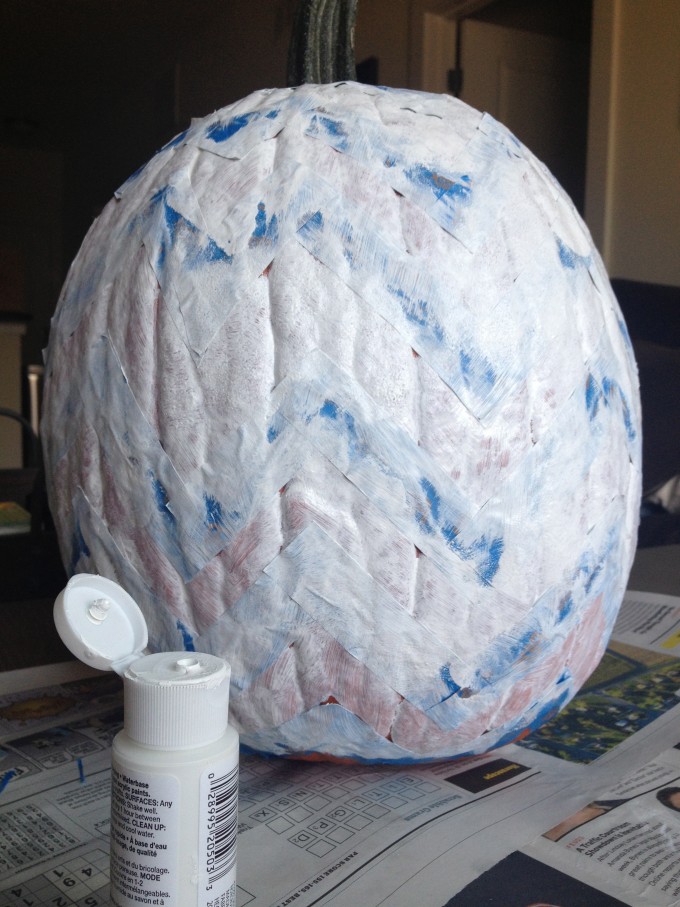
3) Once tape is stuck down in your desired pattern, start your paintin’! I wound up doing three coats of white paint, allowing at least 30 minutes to dry in between coats.
4) Once paint is completely dry (I let it dry overnight) peel the tape off carefully. Don’t worry if some of it comes off – you can always re-touch!
5) Once all of the tape is peeled off, take a Q-tip or a cotton swab dipped in water and touch up any paint that may have dripped and dried below the tape. I also took a paintbrush and applied more white paint where needed to make sure my stripes were nice and sharp…and straight. (Turns out that painters tape and I are the best of frienemies.)
6) If you want to add a second color, take your paintbrush and carefully fill in the color over the pumpkin orange, as I did with the smaller gray and white pumpkin.
7) Ta-da! Country Living cover stylist in the making.
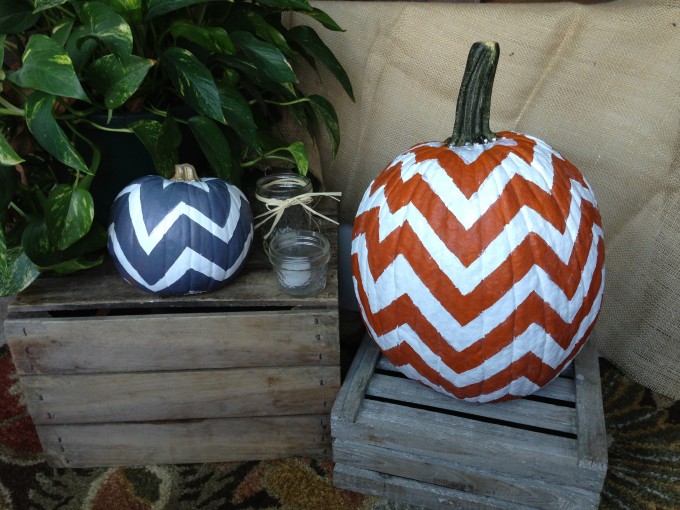
(ahem…hint hint, kick kick, elbow elbow, Country Living magazine. I’m willing to negotiate anytime.)


Love this! I think I might try it, Thank you!
Awesome, let me know how they turn out!