While Matt and I don’t have kids yet, we sure have a lot of nieces and nephews to keep us busy/totally satisfied with not having kids yet.
 And by a lot I mean 13. Thirteen! Thirteen of the cutest, most adorable and hilarious little buggers you’d ever meet.But since we don’t have any kids/cousins that they can play with and we don’t live very close to any of them, I decided a while ago to become the weird aunt that makes all of their gifts. They may not appreciate it now, but just wait until I sew them prom dresses and embroidered handkerchiefs.
Only problem with this theory was that I forgot that a) I had a job that took up the majority of my day, b) I am the biggest procrastinator ever and c) these babies seem to be multiplying by the year. And so eventually…my craft game couldn’t keep up with everybody’s reproducing game. They were taking DIY to a while new level, if ya know what I mean.
 Gosh, that was a weird joke. Sorry.
What I’m trying to say is…over the past few years, my gift game has been more Amazon Prime than hand-sewn-felt-alphabet-letter-blocks. Besides these wildly adorable yarn-wrapped letters that I made for my niece and eventually sold on Etsy for a brief albeit stressful period of time, I was just the aunt who gave in to every Lego or Frozen item on their wish list. Yes, they were none the wiser, (and probably so, so happy that I opted for the life-size Doc McStuffins instead of that ironed-on glitter sweatshirt I bookmarked) but I on the other hand, felt like a crazy childless aunt failure.
 But being crafty Anne Marie in DC was tricky. There were no craft stores in the District, so I had to drive to our old stomping grounds in Alexandria for supplies. And while that might not seem too bad, factors like waiting for 40 tourists to cross the street at every light near the National Mall, then sitting in stupid amounts of traffic for a Saturday afternoon THEN whirling around an insane parking lot full of rushed and irritated shoppers made one simple trip into a three-hour stress extravaganza.
So when we moved to a much slower-paced Lexington in June, one of the main perks was my walking distance to two craft stores. (And Target, and Ulta, and LOFT!) And with a new Izzo baby born in August…it was time for a comeback. A buttons-on-burlap comeback.
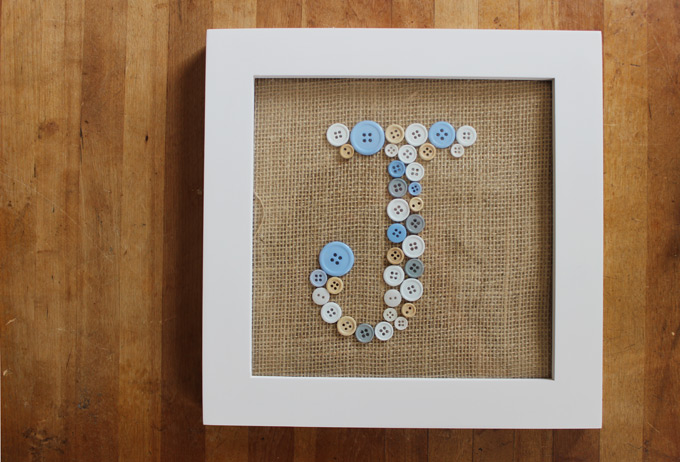
 I saw this idea awhile ago and thought it would be the perfect addition to any nursery, as it wasn’t overly decorative or baby-ish and could also be a mainstay in baby Jacob’s room as he gets older. (You know, behind the future Spiderman lamp.) It was also something I could travel with, as Jacob and his family live in Texas. Which is more than could be said for this other idea I had.
Now that this project is completed, I feel like I need to strike while my glue gun is hot and make up for all of the homemade gifts not given over the years. Because life may not always be as simple as it is right now. And ya know…I just can’t get pregnant with my own child until I finish all these crafts for every one else’s. So seriously…you should probably get pregnant and buy me some more time.
DIY Button Letter
This cute-as-a-button (could not stop my fingers from writing that) framed craft is ideal for a baby gift or even an engagement or wedding gift – just switch up the color of the buttons and background fabric! And while most tutorials for this type of button letter craft involve cutting out letter templates and all that jazz…I just winged it. However, feel free to be more responsible/prepared than I was and use a template.
What You Need:
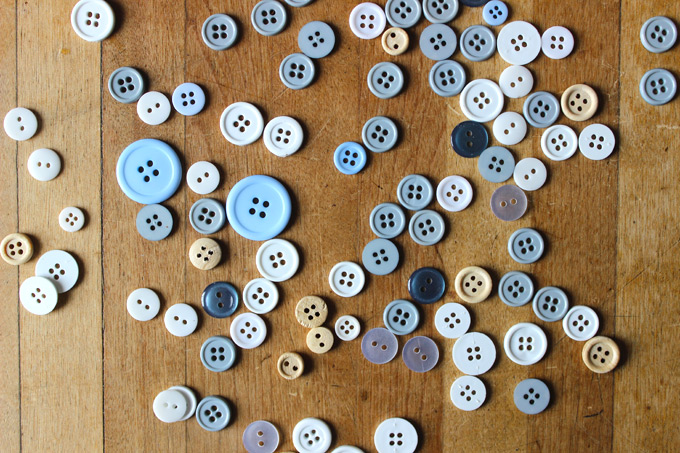
- Buttons (I used a variety of colors and sizes, which I thought made it even cuter)
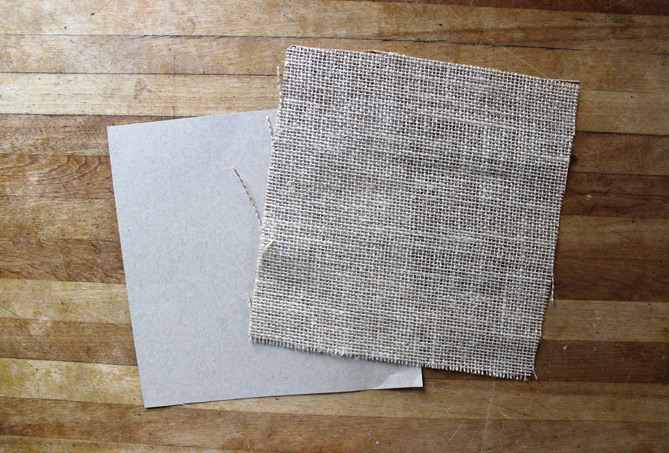
- Fabric (I used burlap because I’m obsessed with it, but you can use any fabric you like or even heavy stock paper)
- If using burlap: a sheet of scrapbook paper in a beige tone to place behind burlap
- Glue gun
- Frame (I used 8×8)
Directions:
- If you are like me and used different packets of buttons that you’ve hoarded since 2012: sort out the buttons you want to use.
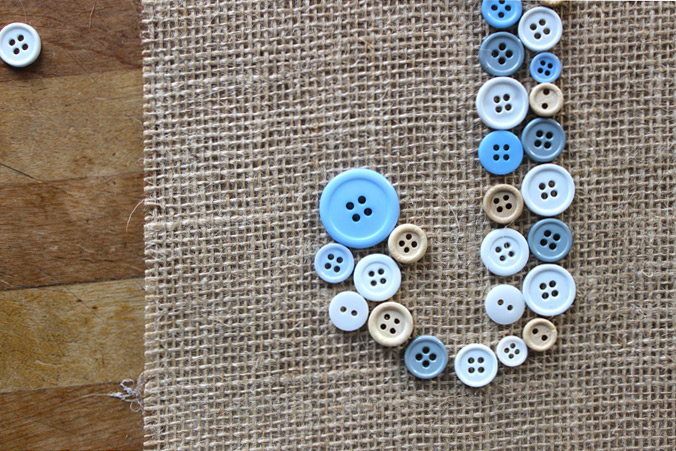
- Depending on the size from you are using, cut your burlap, fabric or paper to fit the frame. If you are using burlap, cut both the burlap and the beige stock paper to the same size, then glue the burlap to the paper using your glue gun. I glued just the corners down. (This will prevent the glue from oozing through the burlap holes!)
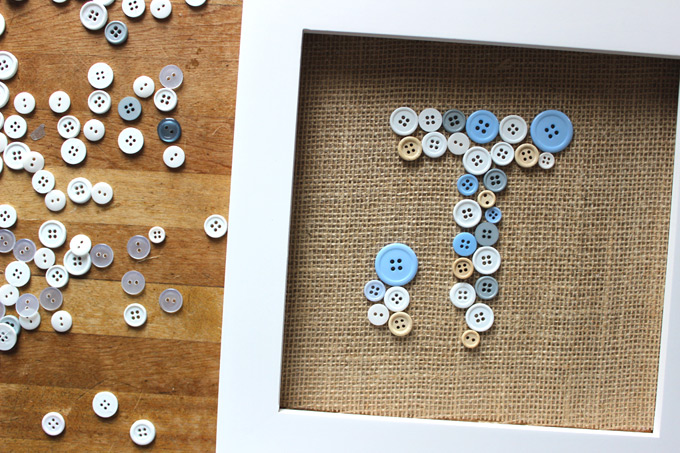
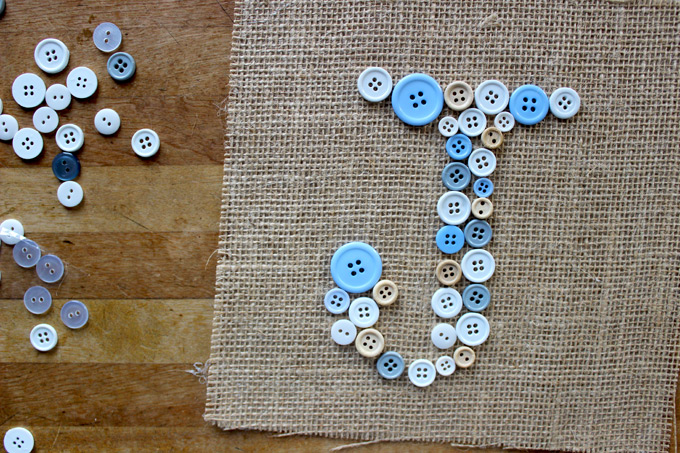
- Start arranging your buttons on your canvas in the letter shape that you want. I placed the frame around the canvas just so I could make sure I had even spacing.
- Once you have your buttons arranged the way you like (don’t worry if the “staging” part takes an hour…I have never over-analyzed buttons so much in my life), carefully glue them down to the canvas, one by one. Be careful not to hit your canvas accidentally during this process, messing up your non-templated letter. Not that I did this twice.
- Once all of your buttons are glued to the canvas, frame that baby up!
(And if you’re me, cut that string of burlap on the left hand side before photographing for your blog. Also, I can totally see you in that reflection.)
This is so clever! What a great idea for us (grateful to be) childless aunts! I hadn’t seen the yarn-covered letters before, either. Too adorable!
Thanks Maggie! The perks of being an aunt are endless – you get to have all of the fun of kids without all of the actual work! Well, unless you consider sorting little blue buttons from three ziplock bags full of buttons work. :)
What a great idea! Pinning!
Ah thank you so very much Elena! :)
I like the color scheme you came up with on this–it’s so pretty against that burlap. I’m pinning this so I can try making one of these using buttons from my grandmama’s button jar. Really neat idea!
Thanks Anne! It was a product of not having enough baby blue buttons…but then you should have seen me scrambling to find enough blue, white and tan buttons! Haha but I do like using multiple colors for a more dynamic look. Let me know how yours turns out – your grandmama’s button jar sounds like a dream!
Ummmm…..Can you tell I haven’t been keeping up to date with everyone’s blogs as I’m just now seeing this?! Jacob’s framed “J” buttons looks great in his room. Perfect for the baby/guest room motif! I absolutely love the thought and time that goes into each homemade gift. Pre-kids I enjoyed crafting, and I can definitely appreciate the time and effort that goes into it!! THANK YOU AUNT Anne Marie!