Or in other words, “ways to sneak more mason jars into the house without Matt noticing.”
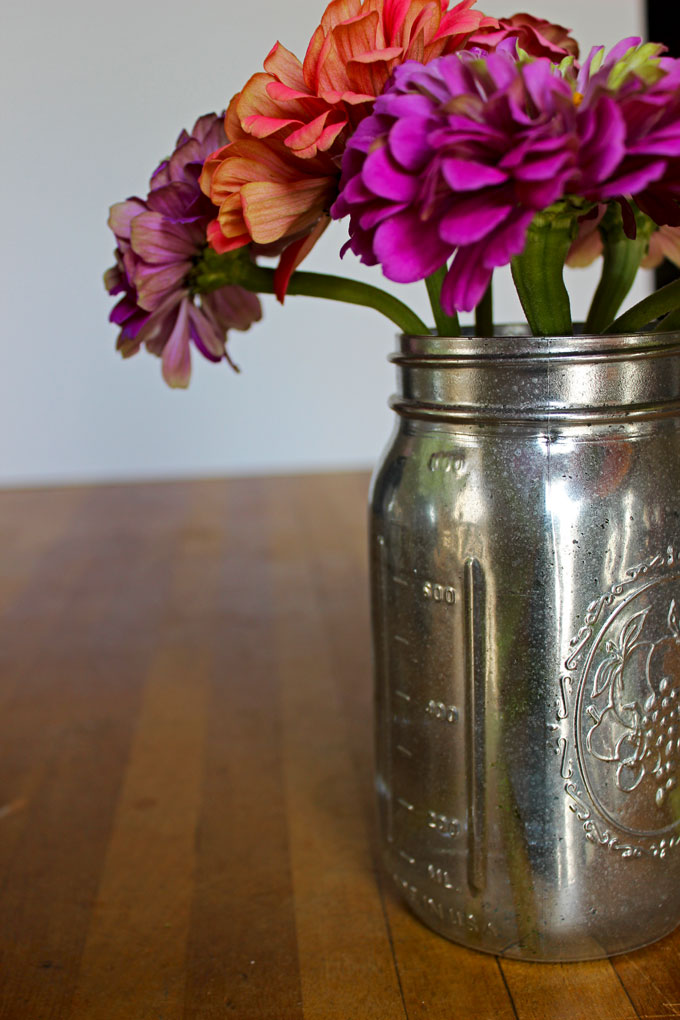
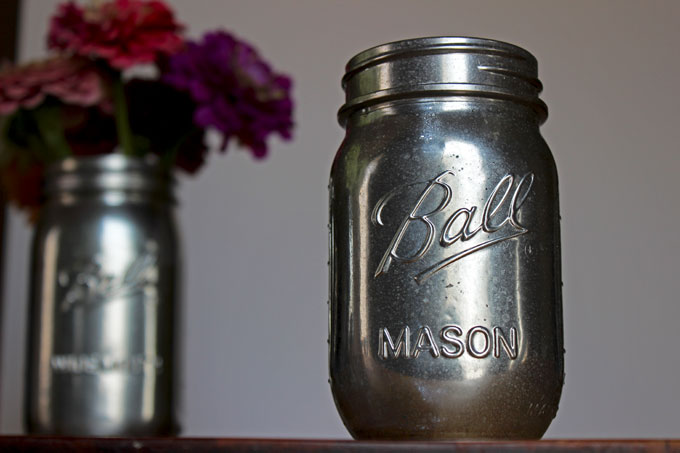 Muahahaha. Plus, besides being camouflaged in metallic armor, they look mighty fine with a fresh coat of paint on them, don’t they? As if I thought mason jars could be any more dreamy.
Be still my farmhouse heart.
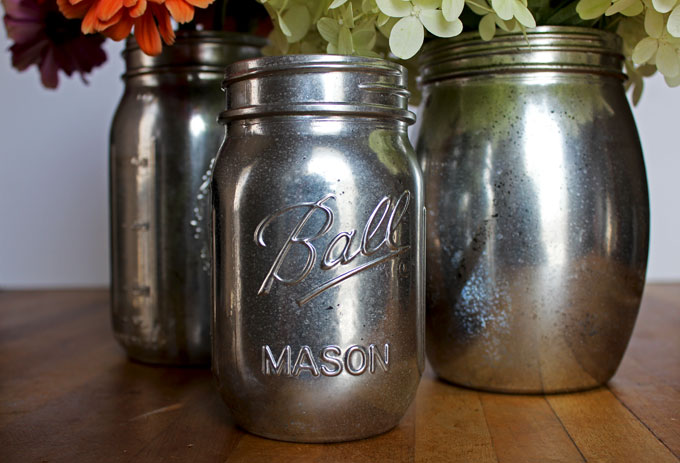 (Okay, so I’m an equal opportunity mercury jar creator and also included a non-mason jar jar in my spray sesh. But let’s be real: mason jars are my top draft pick.)
I saw this idea a while ago on How Sweet Eats, who saw it on 17 Years Apart. I have had it on my “to craft” list for quite some time, but since we had no “outdoor space where I can spray paint jars and not get the stink eye/cops called on me” space in DC, it just had to wait.
So when we first pulled up to our new apartment in Kentucky, complete with a front AND back stoop, it was like I was one of those cartoon characters whose eyes change to hearts and and bug out. You know, like this. (Side note: I never thought I would spend so much time surfing cartoon character Tumblr pages than I did just now. Nor did I realize there were so many cartoon character Tumblr pages. Ah, the internet.)
As sad as I was at the time, moving away from so many people and places I loved so dearly, the two-stoops-to-spray-paint-on factor was my silver lining. That and the fact that there was a Target and a Michaels and a Loft IN THE SAME PLAZA ACROSS THE STREET.
There were better days to come.
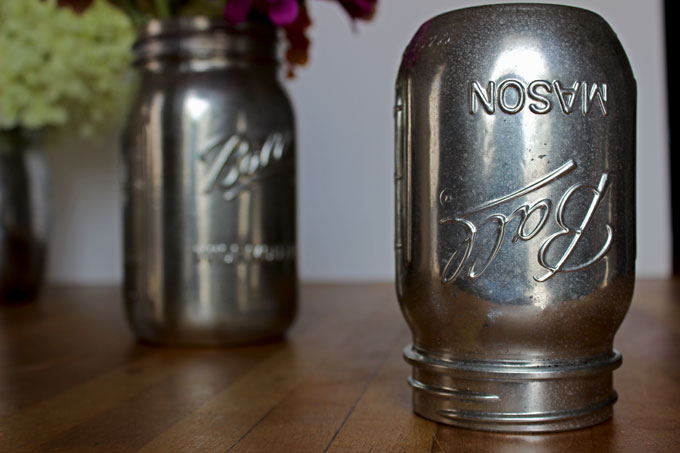 Days filled with $25 cardigans and mercury painted mason jars. No matter that I have no friends here (yet!) and a bunch of neighbors who now refer to me as that “weird girl who is outside spray painting glass in her pajamas as I leave for work.”
Wait ’til they get their Christmas gifts!
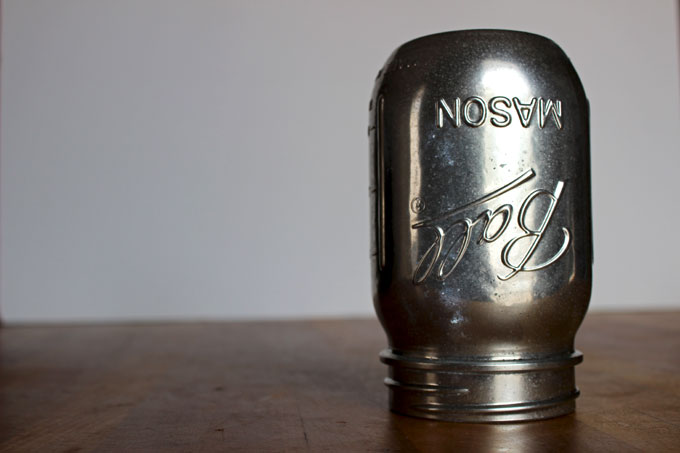 DIY Mercury Jars
Adapted from 17 Apart
What you’ll need:
- Krylon Looking Glass Spray (I bought mine at Wal Mart but also saw it at Hobby Lobby)
- Mason jars, glass jars – whatever glass you want to mercury-ize
- White vinegar
- Water
- Spray bottle
- Paper towels
Directions:
1) Wash and clean your glass jars. Fill your spray bottle with one part vinegar and one part water – I put a half cup of each – and mix.
2) In an outdoor area, cover your work surface with cardboard or cut up paper bags. (We happen to have an endless supply of Whole Foods bags around these parts.)
3) According to the directions on the bottle, shake your Krylon Looking Glass Spray for two minutes. As your arm gets more tired, the seconds will drag on. Push forward , its worth it.
4) Set your glasses down on your surface. With your spray bottle on the finest mist setting, spray the outside of each glass lightly, so that there are droplets of water beaded up.
5) Now, coat each glass with an even layer of Looking Glass spray. (Be sure to identify which direction your spraying beforehand, as on my first trial I wound up with one serious silver palm.)
6) After drying for about a minute, spray glasses with another mist of the water/vinegar mixture.
7) Allow to dry for two minutes. Then, using your bunched up paper towels, gently blot around the surface of each glass. Be careful not to rub or press too hard – you are trying to lightly lift some of the paint for that antique look. As 17 Apart notes, you can apply more pressure in areas you’re looking to achieve more of a tainted, antique look.
8) Repeat steps 4-7 a few times, rotating each glass jar and turning over so that you are coating each with spray evenly, until you achieve your desired look. I did about 5-6 coats on mine. Like most things, including chocolate chips, fro-yo dispensers, and shimmery bronzer, I tend be a little heavy-handed.
9) Once you are done spraying, allow to dry for at least 3 hours before bringing inside/displaying gloriously on your dresser, side tables, TV stand, kitchen table, cabinets, etc.
Or in my case, all of the above.


Oh my gosh! These are gorgeous! I can’t wait to try it myself – pinned!
Yay, thanks so much Maggie! Let me know how they turn out!
These look absolutely adorable! I definitely need to give this a try!
Yay thanks Violet! I seriously cannot get enough of them…let me know if you try it!
Really creative project… and the antique mercury finish is a great contrast with the bright flowers.
Thanks so much Laura! I know, as if I could love mason jar vases any more…I’ve put all sorts of flowers/colors in them and without fail, the mercury finish makes everything look even more beautiful.
Love these! Pinning for my wedding!
Woo-hoo, that is so exciting Brett! I wish I had stumbled upon these three years ago before my wedding. :) So much more practical (and fun, obviouslyyyy) to make them yourself rather than spend tons of money buying them, especially if you’re using them for a centerpiece and need a bunch. Let me know if you make them, and congrats on your wedding!